I accidentally deleted some important files from an APFS-formatted Mac drive and don’t have a Time Machine backup. I’m trying to find the safest way to recover deleted APFS files without overwriting data or making recovery harder. What tools or steps should I try first?
Stop using that APFS drive first. That matters more than which recovery app you pick. When a folder gets deleted and the Trash is emptied, the data may still be sitting on the drive for a while, but macOS can overwrite it at any point. Copying new files to the same disk only makes recovery less likely.
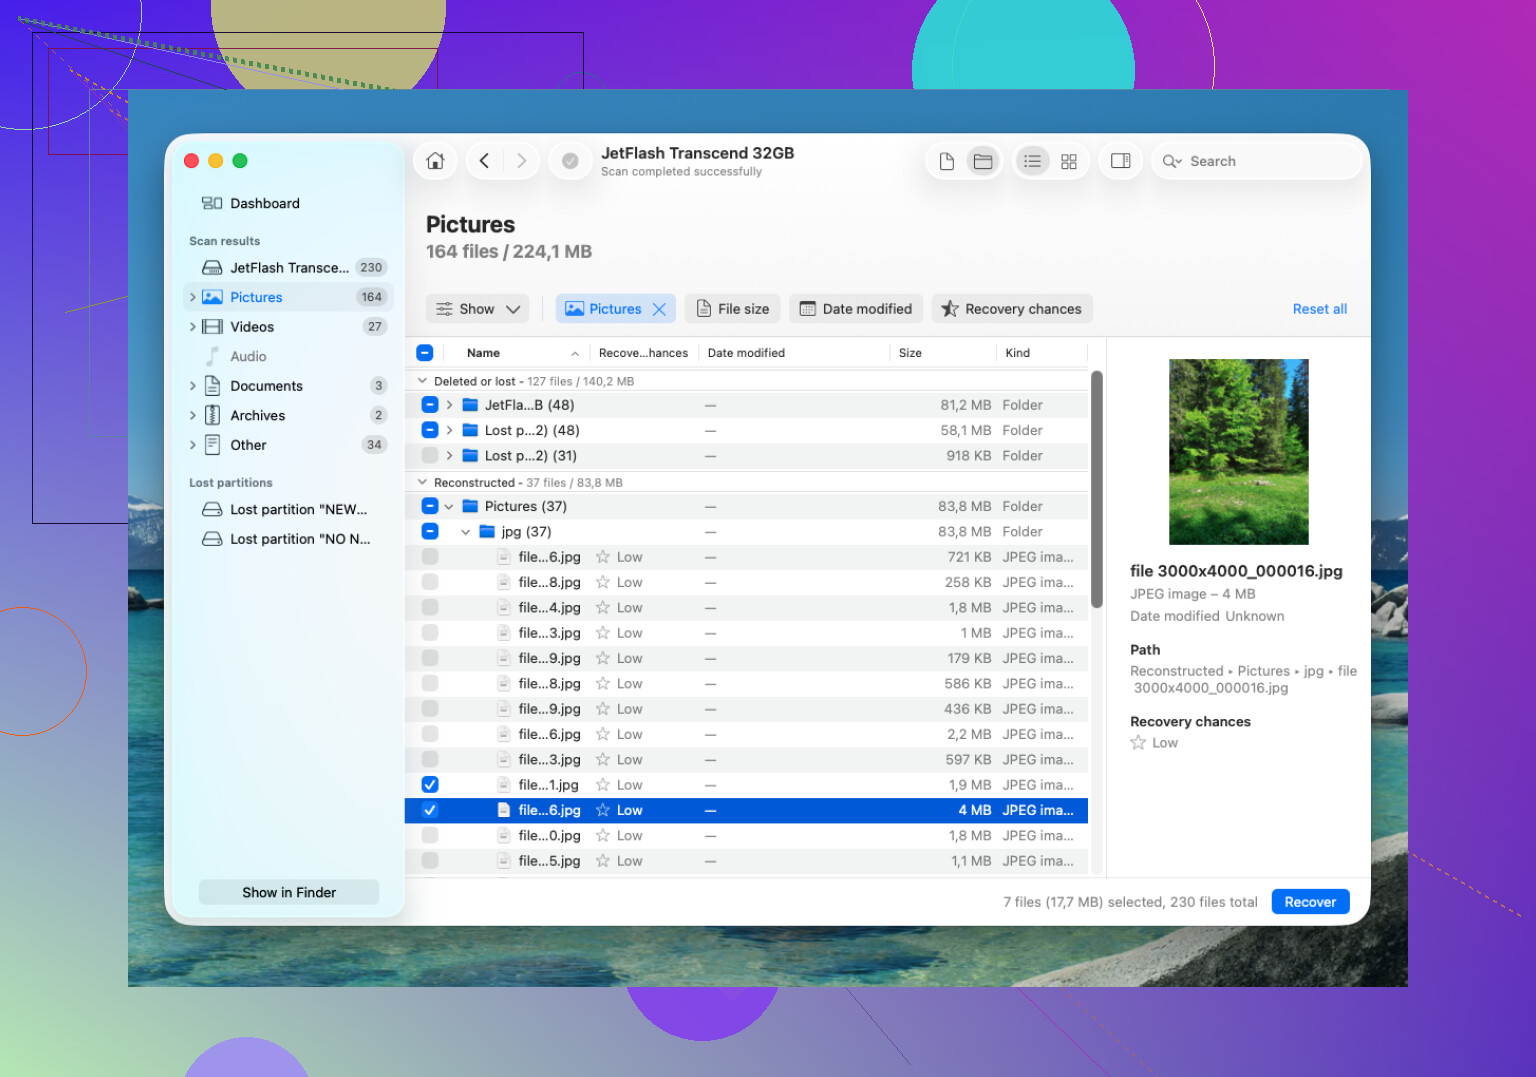
For an APFS recovery app, Disk Drill is the one I’d try first. APFS can be annoying for recovery, and a lot of tools just pull out random files with generic names. Disk Drill tends to handle APFS metadata better, so there’s a better chance of getting back the original filenames and folder layout.
Basic workflow:
- Install Disk Drill on a different drive, not the APFS drive you’re trying to recover from.
- Connect the external APFS drive to your Mac. If the missing files were on the internal drive, give Disk Drill Full Disk Access when macOS asks.
- Choose the APFS volume and click Search for Lost Data.
- Let the scan run all the way through. Bigger drives can take a long time, but stopping early can miss recoverable files.
- Preview the files before restoring them, especially photos, videos, and documents.
- Recover the files to another drive. Don’t save them back onto the same APFS disk.
If you have a Time Machine backup, check that first. Also look for APFS snapshots, since macOS can sometimes have local snapshots available even if your backup disk is not currently plugged in. If the deleted folder is in one of those snapshots, that’s usually cleaner than using recovery software.
The big catch is TRIM, especially if this was an SSD. TRIM can permanently clear deleted blocks in the background, and once that happens, recovery software won’t be able to bring those files back. That’s why shutting things down quickly matters. Regular external HDDs are usually more forgiving because they don’t have that same TRIM behavior.
If Disk Drill doesn’t find enough, PhotoRec is worth trying too. It’s free, but it recovers by file signatures instead of APFS folder metadata, so you’ll usually lose filenames and folder structure. Not ideal, but useful if the main goal is getting the actual files back.
If the drive is making clicking sounds, keeps disconnecting, or only shows up sometimes, I wouldn’t keep scanning it. At that point it’s safer to talk to a professional data recovery lab. Many will do a free evaluation and some have a “no data, no fee” setup. Costs vary a lot, but depending on whether it’s a simple logical deletion or physical damage, it can be around $300 to well over $1,000. For a healthy drive where you just deleted a folder, though, software is the first thing I’d try.
14 Likes
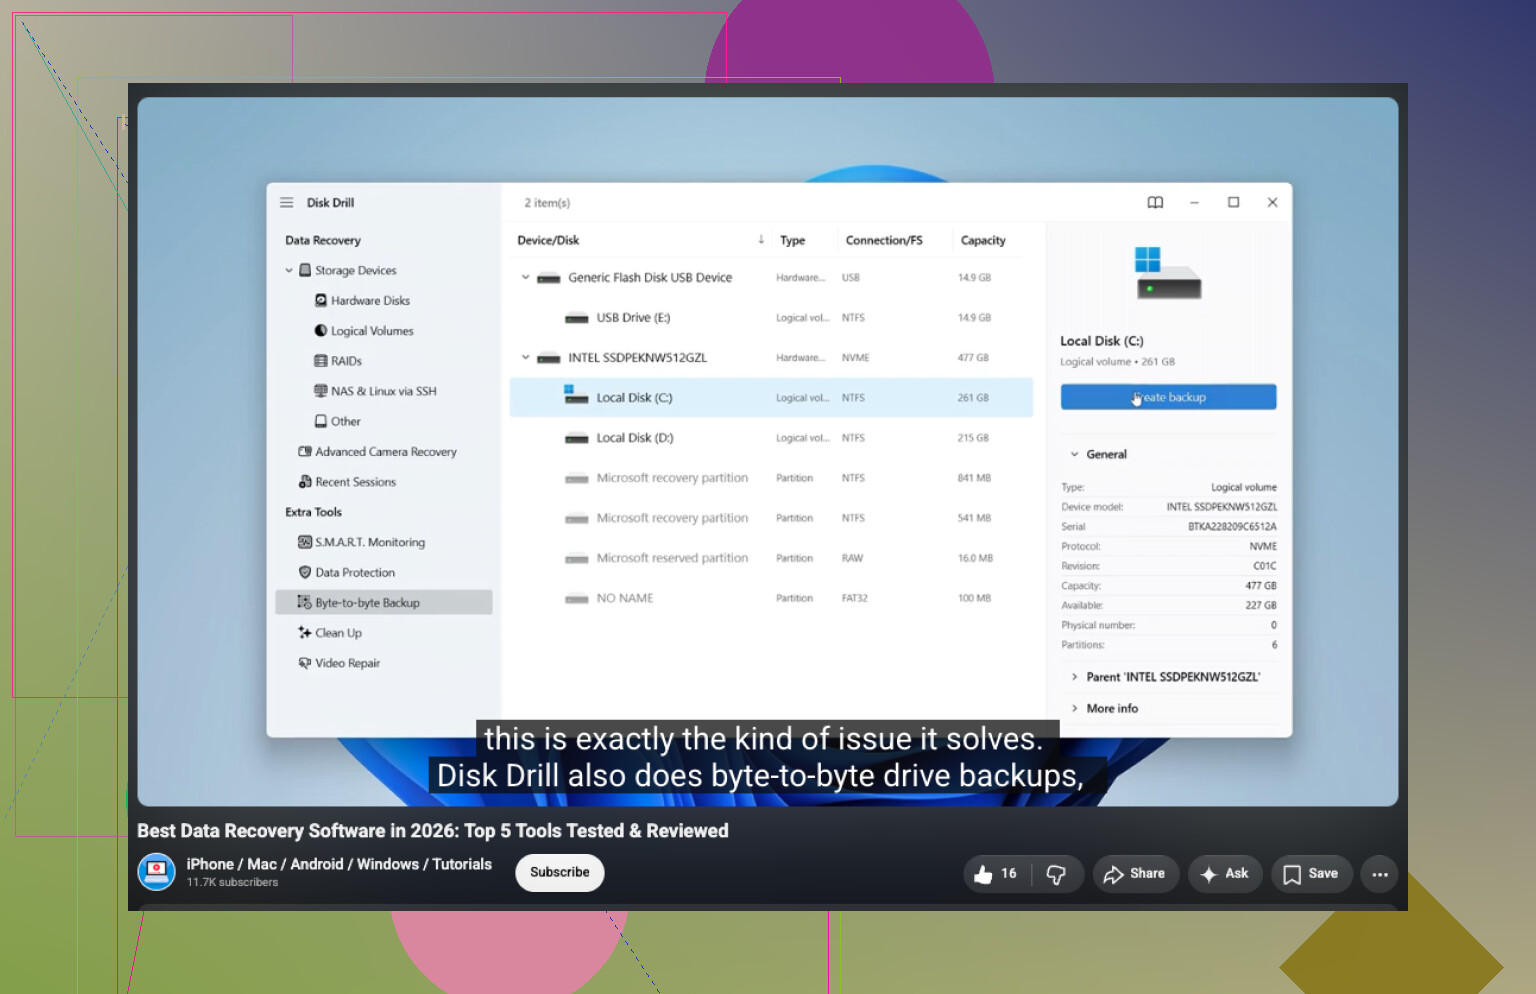
Whether this was the internal SSD or an external spinning drive changes the odds a lot. I agree with @mikeappsreviewer about stopping use, but I’d be even more cautious before scanning the original drive for hours. If it’s an external APFS disk and it still mounts normally, make a byte-for-byte image or clone to another drive first, then point Disk Drill or another recovery tool at that copy. That way, if the disk starts failing or the first scan goes badly, you have not spent your only shot poking at the original. If it’s the Mac’s internal SSD, especially with TRIM and FileVault involved, expectations should be lower and speed matters more than trying five different apps. Recover to a separate disk every time.
Check iCloud Drive’s Recently Deleted page before you touch the disk again. If the missing files were in Desktop, Documents, or any folder synced through iCloud Drive, this may not be a raw APFS recovery job at all. A lot of people go straight to scanning the SSD and forget that the deletion may have synced to iCloud, where there can still be a recoverable copy for a limited time.
After that, I’d be very careful about “fixing” the drive. Don’t run Disk Utility First Aid, don’t erase/recreate the APFS container, don’t let any cleanup app “optimize” the Mac, and don’t install recovery software onto the same volume. Those actions are not undelete steps. Some of them write metadata back to the same filesystem, which is exactly what you’re trying to avoid.
I mostly agree with @vrijheidsvogel on imaging first, especially for an external drive. The safest workflow is usually:
- Get another drive with more free space than the source drive.
- Make a full image or clone of the affected disk if the disk is healthy enough.
- Scan the image or clone.
- Restore recovered files to a third location, or at least to a separate physical disk.
That sounds annoying, but it keeps the original from being your test subject. If the deleted files are valuable, the extra drive is cheaper than making the situation worse.
For an internal Mac SSD, expectations need to be realistic. APFS plus SSD plus TRIM plus FileVault can turn “deleted” into “gone” very quickly. Recovery apps can still find folder entries, thumbnails, partial files, or older copies in some cases, but if the blocks were trimmed, no app is going to rebuild the real contents. That is not a Disk Drill problem or a PhotoRec problem. It is how the storage layer works.
Disk Drill is a reasonable first paid tool if you want a graphical app and previews before recovery. The preview part matters more than people think. If it can preview the document or photo correctly, your odds are much better than if it only shows a filename. Just don’t treat a nice-looking file tree as proof the files are recoverable. APFS metadata can survive after the contents are already useless.
If you want a cheaper first pass, try the non-destructive checks before buying anything: iCloud Recently Deleted, app-specific trash areas, old exports, email attachments, Messages attachments, cloud service version history, and any external drive you may have copied the folder to. Dropbox, Google Drive, OneDrive, Adobe apps, Scrivener, Final Cut libraries, and similar tools can have their own recovery/version systems. Boring, but often cleaner than carving files from a disk.
I would not spend hours running several different recovery tools directly against the original disk. Pick a careful approach, preferably image first, then scan. If the first scan finds nothing useful on an internal SSD, running five more apps usually just burns time and adds writes if you are still booted from that same Mac.
There’s a related Mac recovery discussion here if you want more reports from people comparing what worked in practice: Mac deleted file recovery experiences.
The short version: check cloud/versioned sources first, avoid repair tools, image the drive if it’s external, scan the copy if possible, and recover only to a separate disk. If this was the internal SSD and the files were deleted a while ago, assume the odds are limited and act fast rather than doing a bunch of “maybe this will help” experiments.

Do not keep booting normally from that same Mac if the deleted files were on the internal drive, because Spotlight, iCloud sync, app caches, and browser updates can all write to the disk while you are “doing nothing.”
If the files matter, shut down and boot from another macOS install or recovery environment, then scan from there and save recovered files to an external disk. Disk Drill is fine for that, but the boot/write situation matters more than the brand of scanner.