My Mac external hard drive stopped showing up in Finder after I unplugged it and plugged it back in. Disk Utility can see it, but I’m worried about losing important files before trying anything. What’s the safest way to recover data from a Mac external hard drive without making things worse?
First thing: stop writing anything to that drive. That’s the part people skip, and it can make the difference between getting files back and losing them for good.
When a file disappears on macOS, it usually doesn’t mean the actual data was instantly wiped. A lot of the time, the system just marks that space as available again. So if nothing else has been saved over it yet, recovery might still be possible. The catch is that “nothing else” includes more than you’d think: downloads, cache files, app updates, temp files, and random background activity.
If it’s an external drive, unplug it for now. If the missing files were on your Mac’s internal drive, use the Mac as little as possible until you’ve checked your options.
Start with the simple stuff before going straight to recovery software. Check the regular Trash first. If the files were on an external drive, also check the drive’s hidden trash folder. Open the external drive in Finder, press Shift + Command + Period to show hidden files, then look for a folder called .Trashes. If the files are sitting there, you may be able to restore them with “Put Back.”
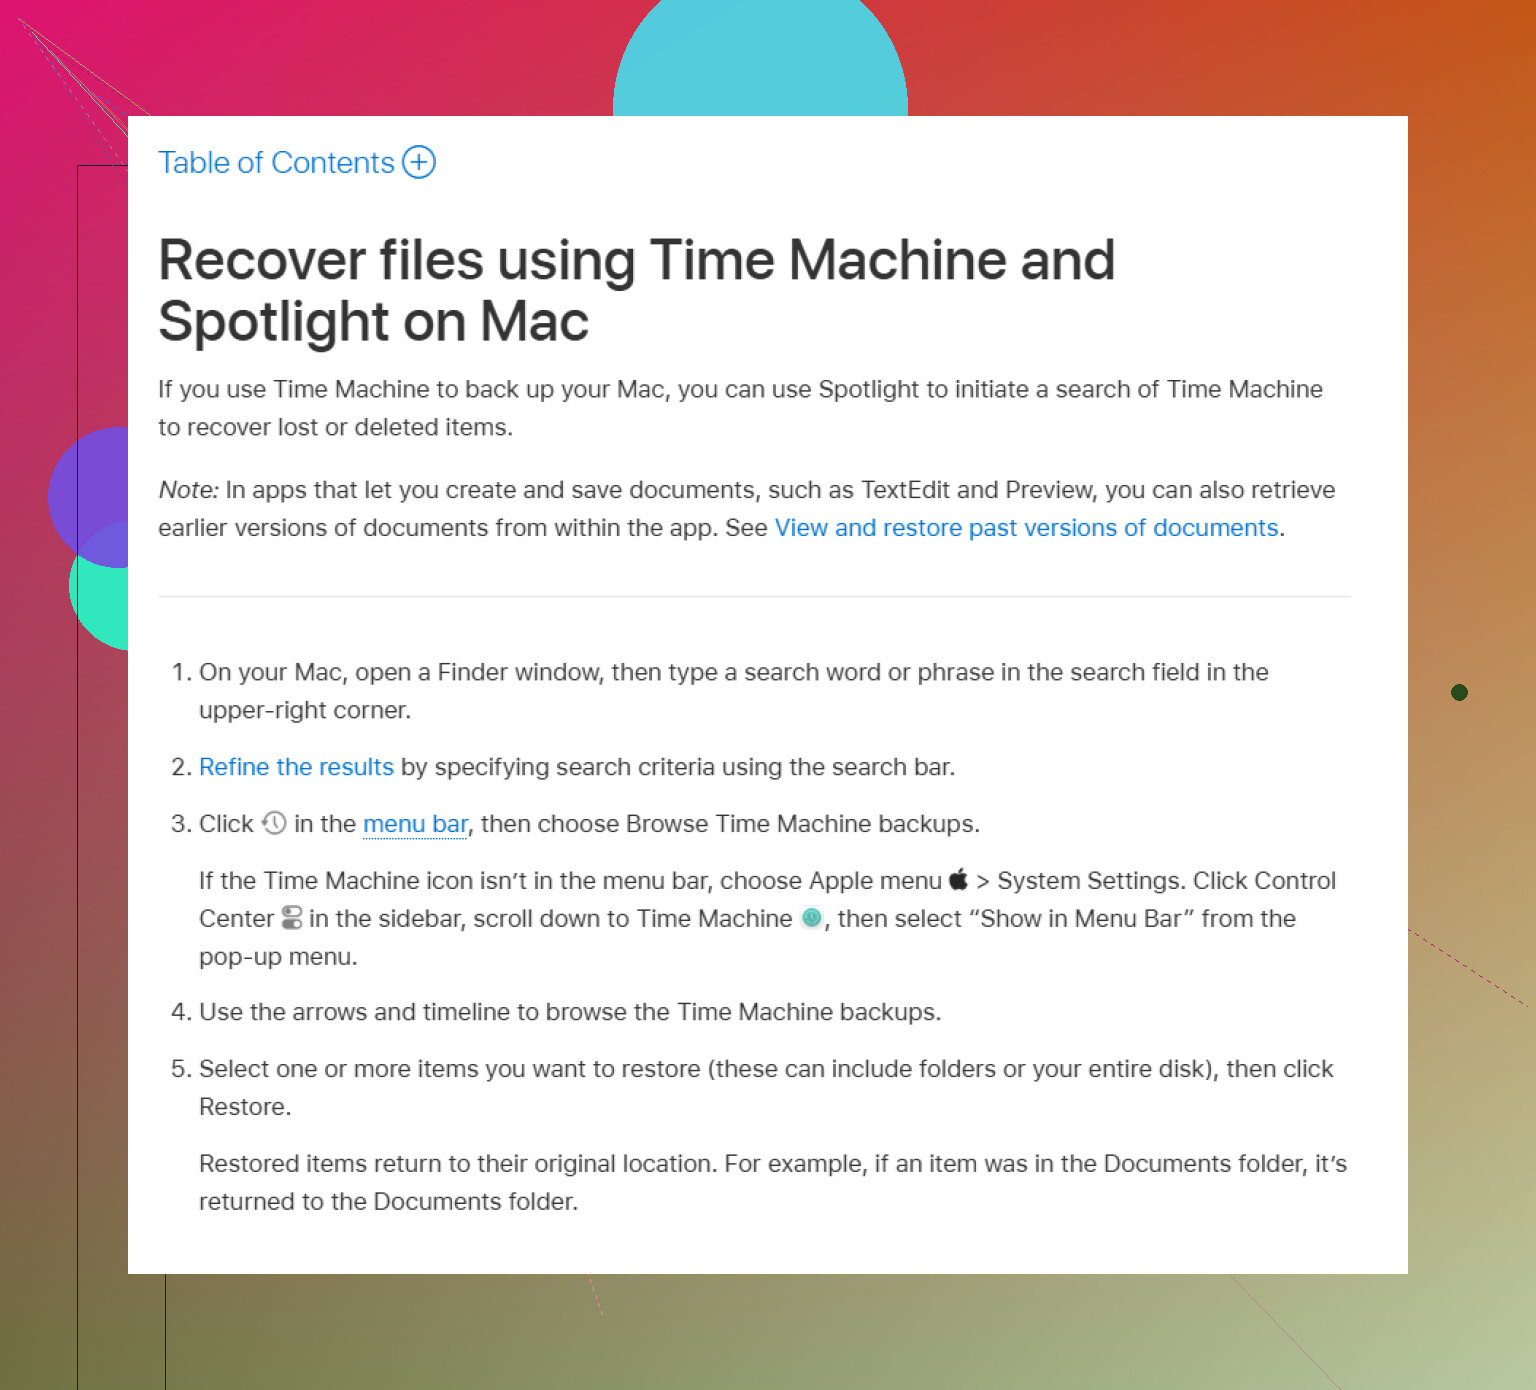
After that, check Time Machine if you had it enabled before the files went missing. Open Time Machine from the menu bar, go back to a date when the files were still there, select what you need, and hit “Restore.”
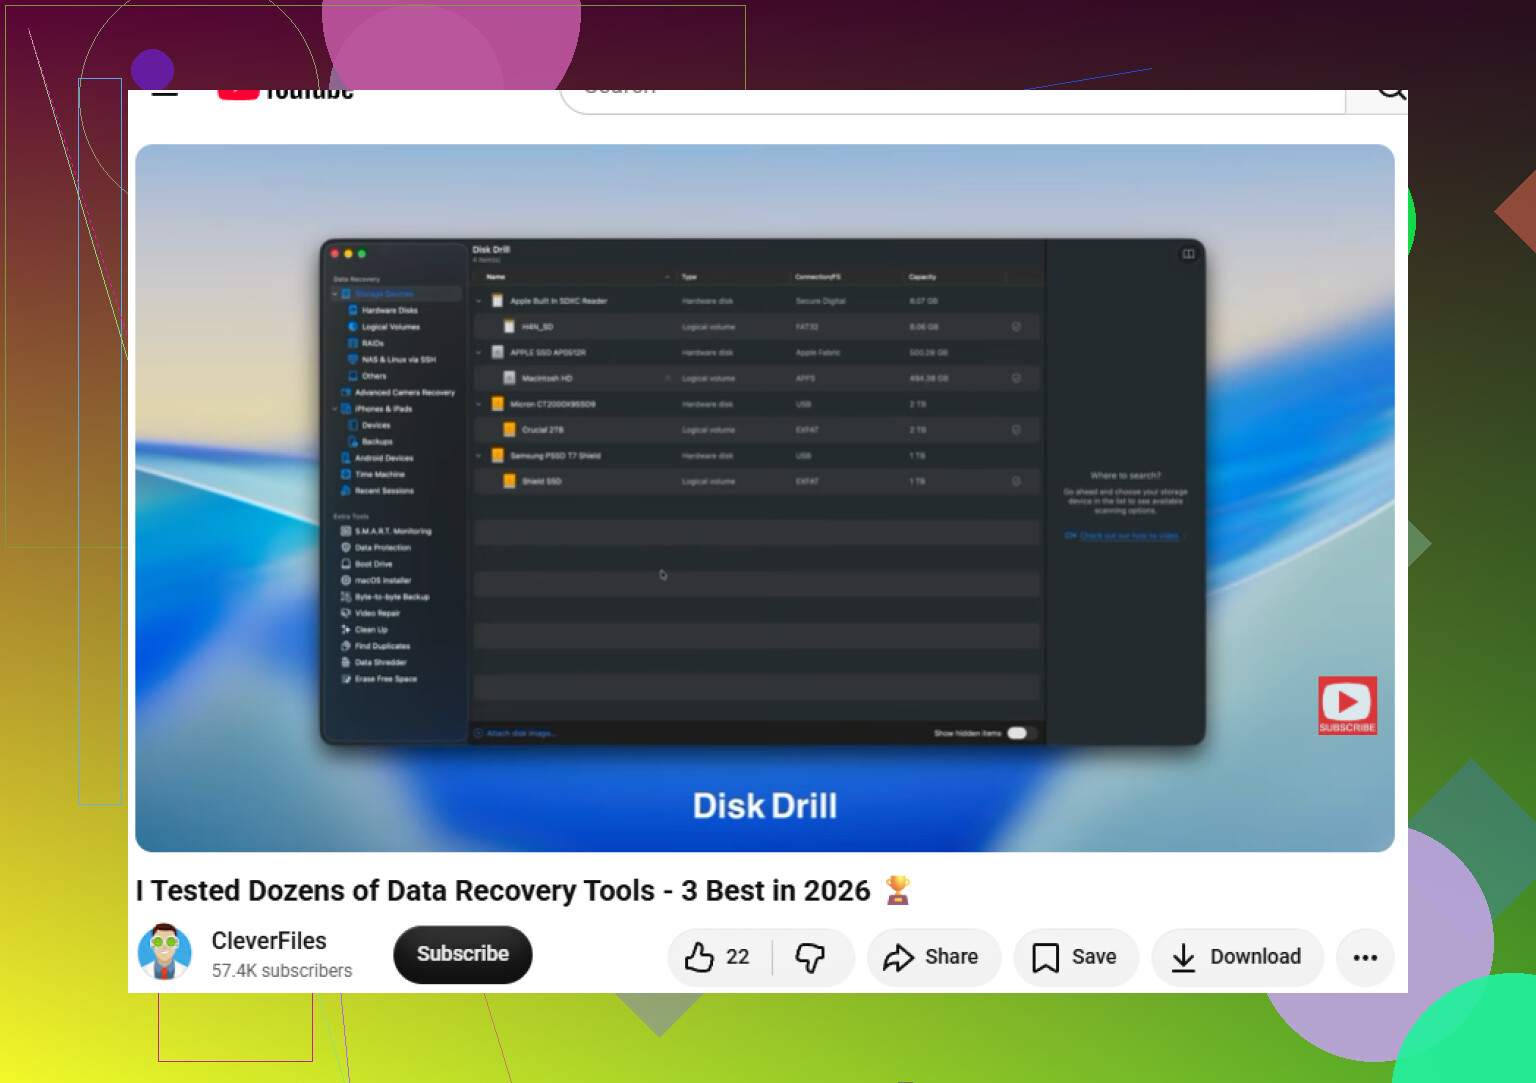
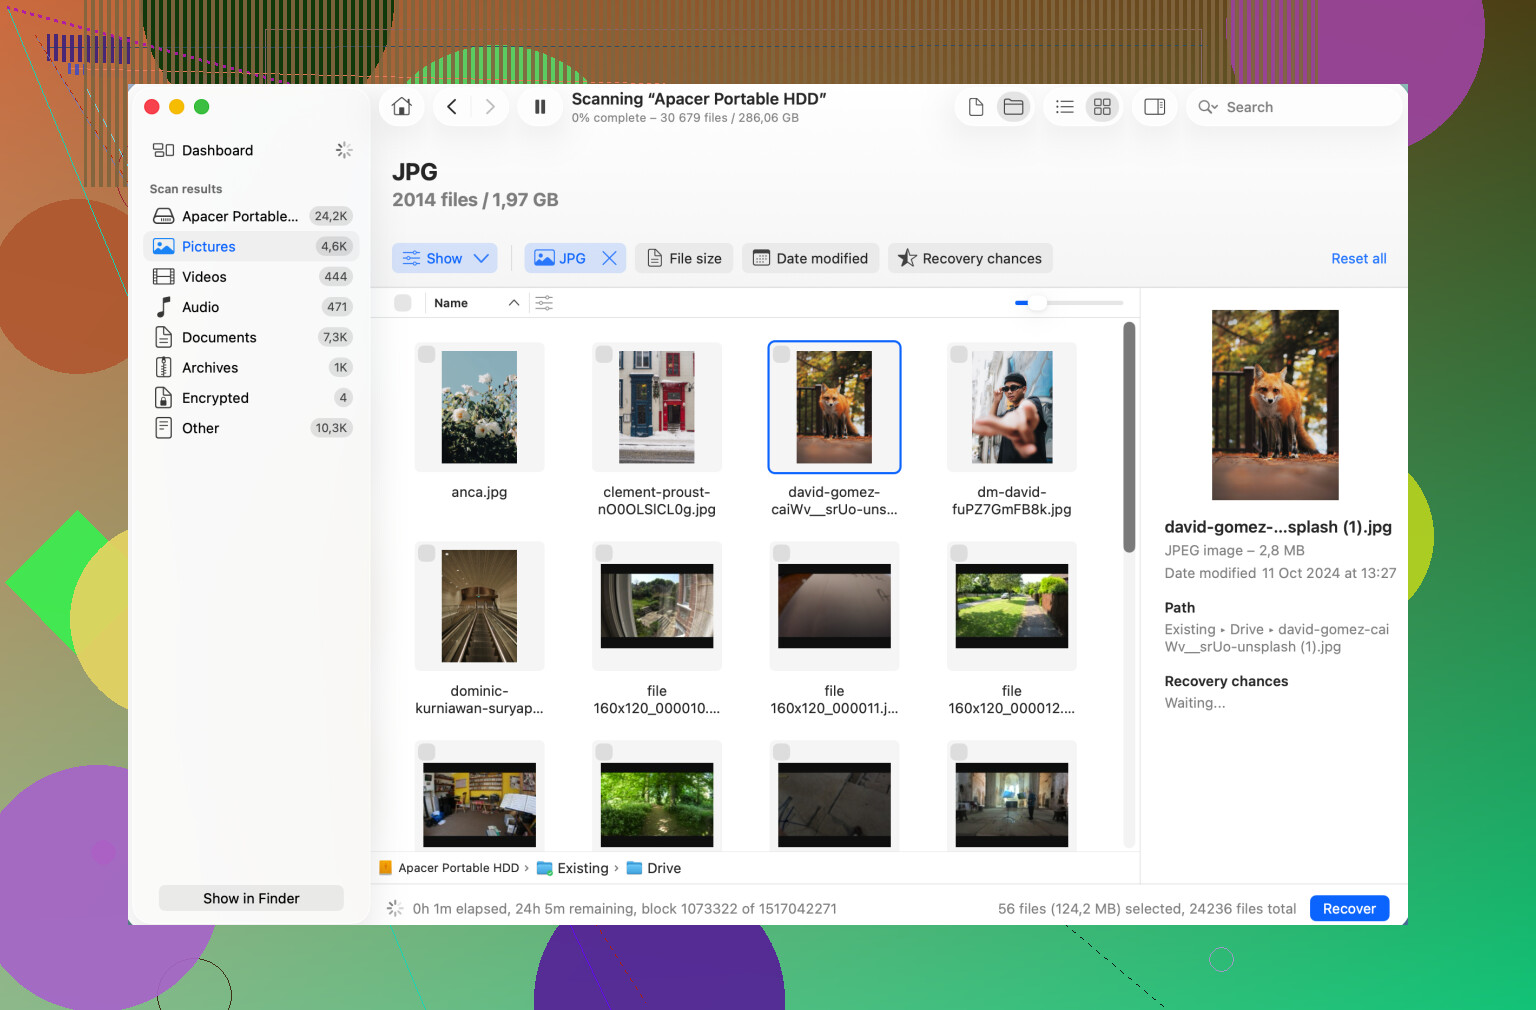
If there’s no backup and the Trash is empty, then recovery software is probably the next realistic step. Disk Drill is one of the more common Mac options, and it works with Mac file systems like APFS and HFS+. It’s also fairly easy to use compared with some recovery tools.
These apps don’t all search the same way. Some look for old file-system records, while deeper scans try to recognize files by their internal patterns. That’s why a tool might still find a photo, video, document, or archive even if the original file name is gone.
One warning: if the drive is acting weird, don’t hammer it with scans right away. If it takes forever to mount, randomly disconnects, or behaves inconsistently, make a byte-for-byte image first and scan the image instead. That puts less stress on the original drive, which matters if the hardware is starting to fail.
If you hear clicking, grinding, strange spinning, or anything that sounds mechanical, stop. Power the drive down and disconnect it. Software is not the right fix for a physical failure, and keeping the drive running can make things worse. If the data is important enough, a professional recovery lab is the safer option, even if it’s expensive.
Once you’re past this, set up backups so you don’t have to go through it again. Time Machine is good for a local backup, and cloud backup gives you another copy in case the local drive dies or disappears.
For now, go in this order: stop using the drive, check normal Trash and .Trashes, try Time Machine, then move to recovery software if needed. If the data hasn’t been overwritten or physically damaged, there’s still a decent chance it can be recovered.
4 Likes
Do not click “Initialize,” “Erase,” or “Repair” just because Disk Utility offers it.
If the files matter, treat the drive as unstable and copy/image it first, then try recovery from the copy. Finder not showing it can be a file system problem, and “fixing” that too early can make recovery messier.
A drive that appears in Disk Utility but not Finder is a different problem than a drive that vanishes from Disk Utility entirely. If Disk Utility still sees the device, you may be dealing with a damaged volume, a failed mount, an encryption prompt that never appeared, a bad enclosure/cable, or a file system issue. That is recoverable in a lot of cases, but the safest move is to stop treating it like a normal external drive.
I agree with @suenodelbosque on not hitting Repair as the first reaction. First Aid can be useful, but it is not a “show my files again” button. It writes changes to the file system, and if the directory structure is already damaged, that can make later recovery harder. Same goes for Initialize or Erase. Those are for making the drive usable again, not for protecting what is already on it.
The detail I’d check before doing anything fancy is whether Disk Utility sees the actual volume or only the physical disk. In Disk Utility, choose View > Show All Devices. Then look at the left sidebar. If you see the physical drive at the top and a grayed-out APFS/HFS/exFAT volume underneath it, that is different from only seeing the top-level device with no usable volume below it.
If there is a grayed-out volume, do not erase it. You can try selecting the volume and seeing whether “Mount” is available, but if it fails, don’t keep clicking it over and over. If it asks for a password, stop and think before assuming it is broken. Encrypted APFS drives can look missing in Finder until they are unlocked correctly.
I would also rule out boring hardware first, because external drives waste a lot of people’s time this way. Try a different cable, a different USB-C/USB-A adapter if one is involved, and a different port. If it is a desktop external drive with its own power brick, make sure it is not a power issue. If it is a bare SATA drive inside a cheap USB enclosure, the enclosure can fail while the drive itself is still readable. Swapping enclosures is sometimes safer than repeatedly forcing macOS to mount the same flaky connection.
If the files matter, the better workflow is:
- Leave the original drive alone as much as possible.
- Get another drive with at least the same capacity.
- Make a full image or clone of the problem drive.
- Run recovery software against the clone/image, not the original.
- Save recovered files to a third drive or your Mac’s internal storage if there is room.
That last point matters. Never recover files back onto the same damaged external drive. People do that because it feels convenient, but it can overwrite data you have not recovered yet.
For a less technical user, a Mac recovery app like Disk Drill can be reasonable, mainly because it can scan APFS/HFS-style Mac volumes without making you live in Terminal. The caveat is that I would not start with a deep scan if the drive is disconnecting, clicking, freezing Disk Utility, or taking forever to respond. In that situation, every long scan is more time spent stressing a possibly failing drive.
If you are comfortable with command-line tools, imaging first with something designed for bad drives is usually the more cautious route. If you are not comfortable with that, don’t learn on the only copy of important files. That is exactly when a recovery shop starts to make more sense, especially if the drive makes odd noises or repeatedly drops off the USB bus.
A quick Finder-specific thing: check whether the external drive is simply hidden from the desktop/sidebar. Finder > Settings > General and Sidebar both have options for showing external disks. That would not usually happen right after unplugging/replugging, but it is worth checking because it costs nothing and does not touch the drive. If Disk Utility says the volume is mounted but Finder does not show it, that setting or a Finder glitch could be the whole issue.
So yes, you can potentially recover data from it. The safe version is not “try random fixes until it appears.” It is “confirm what Disk Utility actually sees, avoid write operations, stabilize the connection, clone/image if the data matters, then recover from the copy.” If the drive sounds physically unhealthy, skip the software stage and power it down.