My exFAT external hard drive suddenly stopped showing my files, and I’m trying to recover important documents and photos before I accidentally make things worse. I’m looking for safe file recovery options, software recommendations, or steps that work well for an exFAT hard drive.
Stop using the drive for now. That matters more than anything else, because with exFAT, deleted files usually aren’t wiped right away. The space is just marked as free, and the data can often be recovered unless something new gets written over it.
I’ve been in this exact panic before with an exFAT external drive after deleting a folder I thought was already backed up. For a few minutes, I was pretty sure I had lost everything. Luckily, I hadn’t touched the drive much after it happened, and that made recovery a lot more realistic.
What I’d do first
Don’t copy anything to the drive. Don’t format it if Windows asks. Don’t run CHKDSK yet. Also don’t install recovery software onto the same drive you’re trying to recover from.
Unplug it until you’re ready to work on it, then connect it to a Windows PC. If it’s an external hard drive, listen for obvious signs of trouble like clicking, grinding, or the drive disconnecting over and over. If it sounds physically bad, don’t keep scanning it.
Rule out the easy stuff
Before going straight into recovery software, check whether the files are just hidden or not showing up properly in Windows.
- Search for the missing folder or file name in Windows Search.
- Turn on Show hidden files in File Explorer.
- If you’re comfortable using Command Prompt, the
attribcommand can remove hidden attributes from files and folders.
It sounds basic, but I’ve seen people think a drive was erased when Windows was just hiding things or indexing badly.
If the files were really deleted
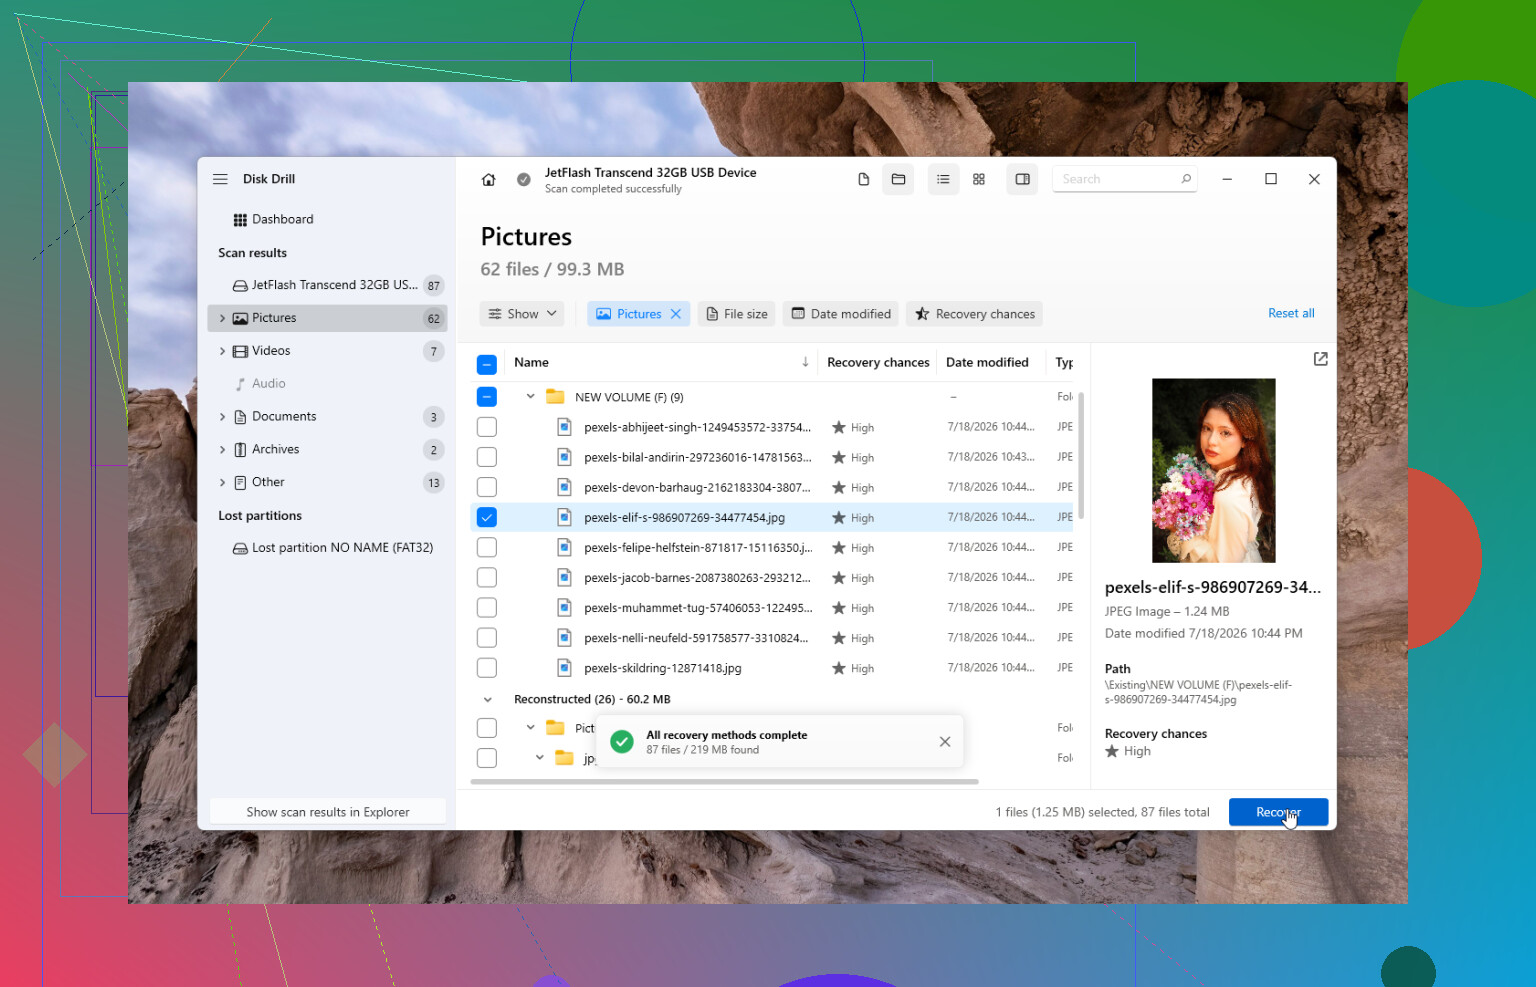
At that point, I’d use recovery software. Disk Drill is usually the first one I suggest because it’s pretty straightforward, and in my case it recovered almost everything I had deleted.
The safer workflow is:
- Install Disk Drill on your main system drive, not on the damaged or deleted-from drive.
- If the external drive seems flaky, make a disk image first and scan that instead of repeatedly scanning the original drive.
- Choose the exFAT drive or the disk image.
- Run Universal Scan.
- Wait for the scan to finish instead of stopping halfway.
- Preview the files you care about.
- Recover them to a different drive, never back onto the same one.
The Windows version also lets you recover up to 100 MB for free, which is useful if you just want to confirm that your files are actually recoverable before paying for anything.
Other things worth trying
If this is more of a damaged partition issue than a normal deleted-file situation, TestDisk can be a good option. It’s free and has been around forever, but it’s not exactly friendly if you’ve never used tools like that before.
And if you have File History, OneDrive, or another recent backup, check that first. Restoring from a backup is almost always faster and less stressful than trying to rebuild files from a scan.
If Windows says the drive needs to be formatted
Don’t format it yet.
If the drive still appears in Disk Management and shows the correct size, there’s a decent chance the issue is file system corruption rather than a dead drive. Recovery tools can sometimes read files even when Windows refuses to open the volume normally.
I’d stop doing DIY attempts if the drive:
- clicks or grinds,
- drops out during scans,
- shows the wrong capacity,
- doesn’t show up on multiple computers.
Those are usually signs that the hardware itself may be failing, and repeated scans can make things worse.
When software isn’t the right answer
If the drive was dropped, got wet, won’t spin correctly, or keeps disconnecting, a recovery lab is the safer route. A lot of reputable labs offer a free evaluation and work on a no data, no fee basis. Pricing varies a lot, but it’s common to see anything from around $300 to well over $1,000 depending on the damage.
For replaceable files, that may not be worth it. For family photos, work files, or anything you can’t recreate, it can be.
If this was just an accidental deletion or exFAT corruption, you’re in one of the better recovery scenarios. The main thing is not writing anything new to the drive before you scan it. That’s what saved my files, and it’s still the first advice I’d give here.
10 Likes
A drive that shows empty is different from a drive that clicks, disconnects, or asks to be initialized. If it’s stable and the size looks right in Disk Management, I’d treat it like a file system problem and scan it read-only with something like Disk Drill, saving anything found to another disk. If it’s unstable, don’t keep retrying different tools because every scan is more wear on the drive. The boring but safer move is to make an image of the drive first, then experiment on the image instead of the original. That’s the step people skip because they want files back fast, but it can be the difference between one decent recovery attempt and making the mess worse.
Whether this is a spinning hard drive, an SSD, or a USB flash-style external matters a lot. People often say “external hard drive” for all three, but the recovery odds are not the same.
If it’s a normal mechanical HDD and the files just vanished, I’d be fairly optimistic as long as you stop writing to it. exFAT is simple enough that recovery tools can often rebuild a lot from the directory records or file signatures. If it’s an external SSD, portable NVMe, SD card, or thumb drive, the answer gets less friendly because TRIM/garbage collection can erase blocks after deletion or formatting. In that case a scan may still find file names or folder structure, but some files can preview as broken or recover as zero-byte/corrupt. That is not the recovery app failing, it’s just the storage device already cleaning up behind the scenes.
I agree with the “don’t run CHKDSK yet” advice. CHKDSK is not a recovery tool. Its job is to make the file system mountable and consistent, even if that means moving damaged records around or discarding things it can’t reconcile. Sometimes it helps a slightly confused volume, but if the goal is getting back missing documents and photos, I would not let Windows “fix” it before you have copied or imaged what you can.
My order would be pretty boring:
- Check Disk Management first. Does it show the right drive size?
- If it shows the wrong size, disconnects, clicks, or freezes Explorer, stop DIY scans.
- If it shows the correct size and stays connected, make an image if you have another disk big enough.
- Scan the image, not the original, if possible.
- Recover found files to a totally separate drive.
- Open a sample of recovered photos/docs before assuming the recovery worked.
Disk Drill is fine for the “I need a normal interface and previews” route, especially if you’re trying to confirm whether the files are visible before paying for anything. I wouldn’t treat any single tool as magic, though. If one scan only finds a pile of nameless JPGs, another tool may reconstruct folders better, or the opposite may happen. That’s another reason imaging first matters. You can try more than one approach without making the original drive do laps all day.
A small practical annoyance: if you recover photos by file signature only, you may lose folder names, original filenames, and sometimes dates. That can make the recovery look worse than it is. The files might be usable, just dumped into generic folders with names like file000123.jpg. For documents, preview matters more than the filename. A recovered Word file that opens is worth more than a neat folder tree full of corrupted files.
If Windows is asking you to format the drive, do not click yes just to “get it recognized.” Quick format can sometimes still be recoverable, but it adds another layer of confusion and can make folder-based recovery harder. Full format is worse. Same goes for copying “just one test file” onto the drive. That test file may land right on top of something you care about.
So the missing answer is: identify the device type and its behavior first. Stable mechanical exFAT drive showing the right capacity is a decent DIY recovery case. Flash/SSD media or an unstable disk is much more time-sensitive and less predictable. The safest cheap move is still to stop using it and image it before experimenting. If you can’t image it because it errors out or disconnects, that’s the point where a recovery lab starts to make more sense than another weekend of software scans.
Do not trust the USB enclosure until you’ve ruled it out.
People jump straight to exFAT corruption, but with external drives the little USB bridge board, cable, hub, or power brick can be the thing lying to you. A weak cable or flaky enclosure can make a perfectly readable drive appear empty, freeze Explorer, or pop up the “needs to be formatted” message. Before running a long recovery scan, try a different USB cable, a rear motherboard USB port if it’s a desktop, and no hub. If it’s a 3.5-inch external drive with its own power adapter, try not to ignore the power supply either.
I agree with the others about not writing to the disk, but I’d be careful with “just scan it” if the connection is unstable. A recovery scan that drops halfway through is not only annoying, it can waste the remaining healthy time on a failing drive. If the disk is mechanical and keeps disconnecting, the better move is to clone it with a tool that can skip bad areas and continue later, then run Disk Drill or whatever recovery app on the clone. A normal file copy is not the same thing as a clone, and it will usually choke as soon as it hits bad sectors.
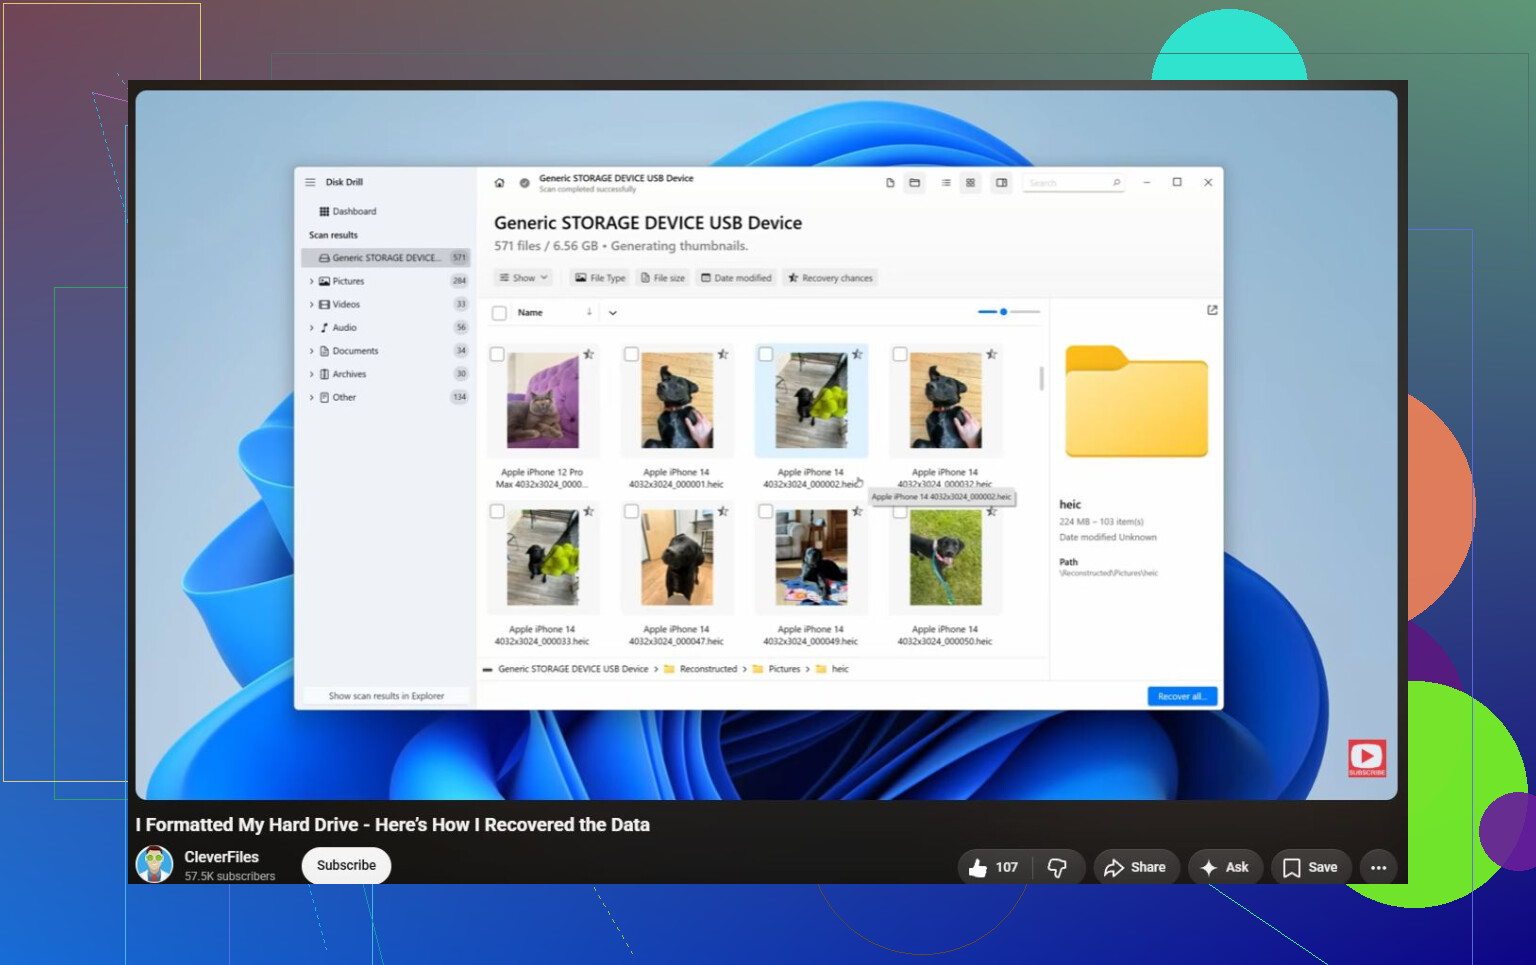
Disk Drill is reasonable if the drive stays connected and shows the right size. The preview feature is the useful part, because it tells you whether you’re seeing real recoverable files or just names from a damaged directory. But don’t judge success by the file tree alone. With exFAT, you might get nice folders with broken files, or ugly generic filenames with photos that open fine. Test a few large photos, PDFs, and documents before spending hours sorting everything.
The small thing people forget: recover to a drive with plenty of free space. If your external was 2 TB, don’t start recovery onto a laptop with 80 GB free and assume you’ll pick through it later. You can end up stopping and restarting scans for no reason. Have a clean destination ready first, preferably another external drive, and leave the problem drive alone except for reading or cloning.