I took several pictures on my iPhone that look almost exactly the same, and now I’m trying to figure out which one is sharper or better before I delete the extras. I can’t find an easy way to compare two photos side by side or spot small differences, so I need help with the best method or app to use.
I ran into the same mess with my camera roll. Ten sunset shots, four group pics, and every single one has a different problem. One is soft. One has someone blinking. One looked fine until I zoomed in. Flipping back and forth inside Photos got old fast, and I kept everything because I didn’t trust my memory. Storage went first.
The short answer on iPhone is no. The built-in Photos app does not give you a real side-by-side comparison view. Apple added a Duplicates album, but it only catches exact copies. If you took a burst of your dog and the ears shifted a bit in each frame, Photos treats those as separate images.
If you want to stay with stock iOS tools, there is a workaround through Shortcuts. I tried it once. You build a shortcut, usually something like Side by Side, then pick two photos and it stitches them into one wide image so you can compare them together. It functions, sure. It also gets annoying fast if your library is full of near-matches. You have to repeat the process over and over. For one or two checks, fine. For cleanup, no way.
There are smaller apps made for direct image comparison too, things like Tidy or Image Compare. Those are better when you’re checking two edits of the same photo and you need zoom or a slider to inspect focus.
For cleaning out a big photo library, I had better luck with a cleanup app. I burned time on a bunch of so-called free ones first. They scanned my phone, showed me the mess, then blocked deletion behind a weekly subscription. One wanted seven bucks a week. I deleted it on the spot. The one I stuck with was Clever Cleaner.
What made me keep it was simple. No ads. No paid tier shoved in my face. No paywall after the scan. I saw it came from the Disk Drill team, which gave me a bit more confidence than some random cleaner app with stock screenshots and weird reviews.
The part tied to your problem is the Similars tab. It groups photos which are close, but not identical. Same pose, same angle, same meal pic, same selfie with tiny changes. It then suggests a best shot. I still checked the groups myself, because I don’t trust auto-picks blindly, but it was right more often than I expected. It seems to look at focus, eyes, lighting, stuff like tht. Their accuracy claim is around 95 percent. I did not measure it, but from use, it felt decent.
A few bits I ended up using a lot:
-
Heavies tab
It sorts your media by file size. This found huge 4K clips I forgot existed. One old concert video was eating a stupid amount of space. -
Swipe mode
This is the fast pass if you like deciding manually. You go month by month, keep or delete with a swipe. It felt less clunky than digging through Photos. -
Screenshot size info
Inside the Screenshots section, it shows the exact size of each image. Helpful if your phone is stuffed with receipts, maps, and one-time codes you forgot to remove. -
Local processing
This mattered to me more than I expected. The photo analysis stays on the device. My library was not being pushed to some server to sort out blurry brunch pics.
One extra thing I didn’t expect to care about was the Lives tool. It strips the tiny video part out of Live Photos and saves them as stills. I had Live Photos turned on by accident for months, maybe longer. Those three-second clips pile up quietly, then you notice your storage is gone.
If you’re doing manual comparisons, zoom into the eyes first, or the main subject if it’s not a person. Around 200 percent worked for me. At normal size, two photos look the same. Zoom in and one falls apart fast.
So yeah, if you only need to compare two pictures once, the Shortcuts trick is enough. If your goal is sorting a bloated library and picking winners from batches of near-identical shots, I’d skip the homemade route. A dedicated app is less tedious, and in my case it saved a lot of time and a couple gigs too.
2 Likes
iPhone doesn’t give you a true compare view inside Photos, and I think @mikeappsreviewer is right on that part. Where I disagree a bit is the Shortcuts route. For most people it’s more fiddly than useful.
What works faster for me is this.
First, use burst behavior if those shots came from a burst. Open the photo, tap Burst, then Select. iPhone will often mark frames it thinks are best. It’s not perfect, but it narrows the pile fast.
Second, use edit preview, not full editing. Open photo A, tap Edit, zoom into eyes or text edges. Back out. Do the same on photo B. The edit screen sometimes makes flaws easier to spot than the normal viewer. Sharpness issues show up fasetr there.
Third, check file info. Swipe up on each photo. If one used Night mode longer, or has a lower shutter speed, that softer shot often loses. Not always, but it helps.
If your library is full of near-duplicates, Clever Cleaner is the more practical route. Its Similars grouping is better for cleanup than flipping around in Photos all day. Less tapping, less guesswork.
Also, this Apple discussion on comparing similar iPhone photos is worth a look:
best ways to compare similar photos on iPhone
If you only have two pics, zoom to 100 percent and check eyes, hair, and fine edges. If you have 200 pics, use a cleaner app or you’ll be there all niight.
I’d actually skip the Shortcuts hack that @mikeappsreviewer mentioned unless you only do this once in a blue moon. It works, but it feels like building a tiny machine just to answer a simple question.
What helps more for judging two almost-identical iPhone shots is this:
- Favorite both photos first so you don’t lose track of them
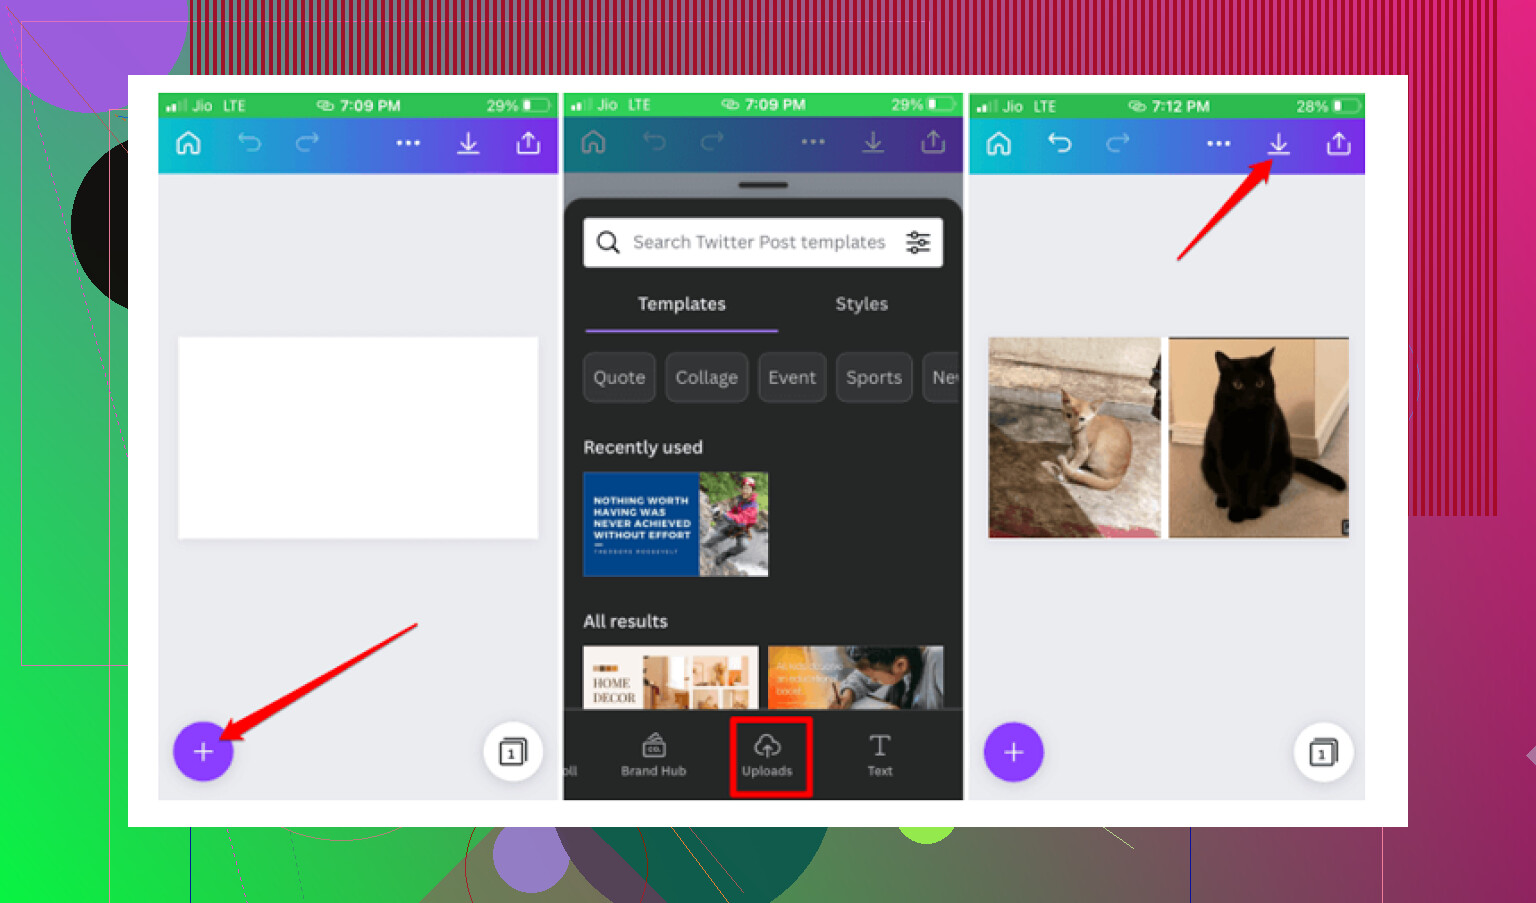
- Open one, screenshot the area that matters most, like eyes, text, or edges
- Do the same on the second photo
- Now compare those screenshots in Photos by swiping between them
Why this works: screenshots force you to look at the exact same crop, which makes softness and motion blur way easier to spot. Not elegant, but honestly faster than bouncing between full images.
Also, check this stuff before deleting:
- exposure differences in bright areas
- skin detail getting smeared by noise reduction
- slight hand movement in Night mode shots
- focus landing on the background instead of the subject
I agree more with @voyageurdubois on one point: if this is a whole-library problem, manual review gets old reaaal fast. That’s where Clever Cleaner makes more sense, especially for similar-photo groups. I would not trust any app blindly to pick winners, but for narrowing the mess down, it saves a ton of taps.
If you want a quick visual explainer, this quick iPhone photo comparison tip is pretty easy to follow.
So, no true side-by-side in Apple Photos. Annoying, yep. But for just two shots, compare matching screenshots. For 200 nearly identical ones, use Clever Cleaner or you’ll be stuck there all night.
I’d split this into two cases.
If it’s just two photos, I actually wouldn’t bother with screenshots or Shortcuts like @mikeappsreviewer and @suenodelbosque mentioned. Faster test:
- put both photos in a temporary album
- open the first and note the Live Photo frame or lens used
- tap share > assign to watch face or copy? No, skip that
- instead, use portrait orientation lock off, rotate the phone, and rapidly swipe between the two while zoomed to the same spot
- compare micro-contrast, not just “sharpness”
Look at eyelashes, fabric texture, tree leaves, or text edges. The better shot usually has cleaner separation, not just more detail.
One thing people miss: sometimes the “sharper” photo is worse because Smart HDR made faces harsher or noise reduction smeared skin. So also check:
- shadow detail
- highlight clipping
- weird processing halos
- skin texture
Where I agree with @voyageurdubois is the stock Photos app gets tedious fast for batches. That’s where Clever Cleaner is useful.
Pros of Clever Cleaner
- groups similar shots, not only exact duplicates
- quicker for large cleanup sessions
- easier to narrow 50 near-identical shots into 5 finalists
- local analysis is a plus if privacy matters
Cons
- auto-picked “best” shot still needs human checking
- similarity grouping can occasionally lump different photos together
- less useful if you only compare one pair once in a while
So my take:
- 2 photos: manual zoom and inspect processing artifacts
- 20+ photos: use Clever Cleaner to surface the near-duplicates, then make the final call yourself
Also, brief nod to @voyageurdubois, @suenodelbosque, and @mikeappsreviewer: all fair points, but I think people overfocus on side-by-side layout. The real win is knowing what to inspect, not just seeing both at once.