My 4TB hard drive started showing bad sectors after slowing down and making file transfers fail. It has important photos, work files, and backups that I really need to recover before the drive gets worse. I’m looking for the safest way to recover data from a hard drive with bad sectors without causing more damage.
Cyclic redundancy check errors are the kind of thing I stopped brushing off after losing a photo archive years ago. If your PC locks up when you open a folder, or throws CRC errors while copying, stop using the drive first. Right away. If it’s external, unplug it. If it’s your main internal drive, shut the machine down.
What I saw more than once was the drive getting worse the longer it stayed online. Windows keeps poking bad spots. The drive firmware does the same. More retries, more strain, less luck later.
There are usually two buckets for this stuff.
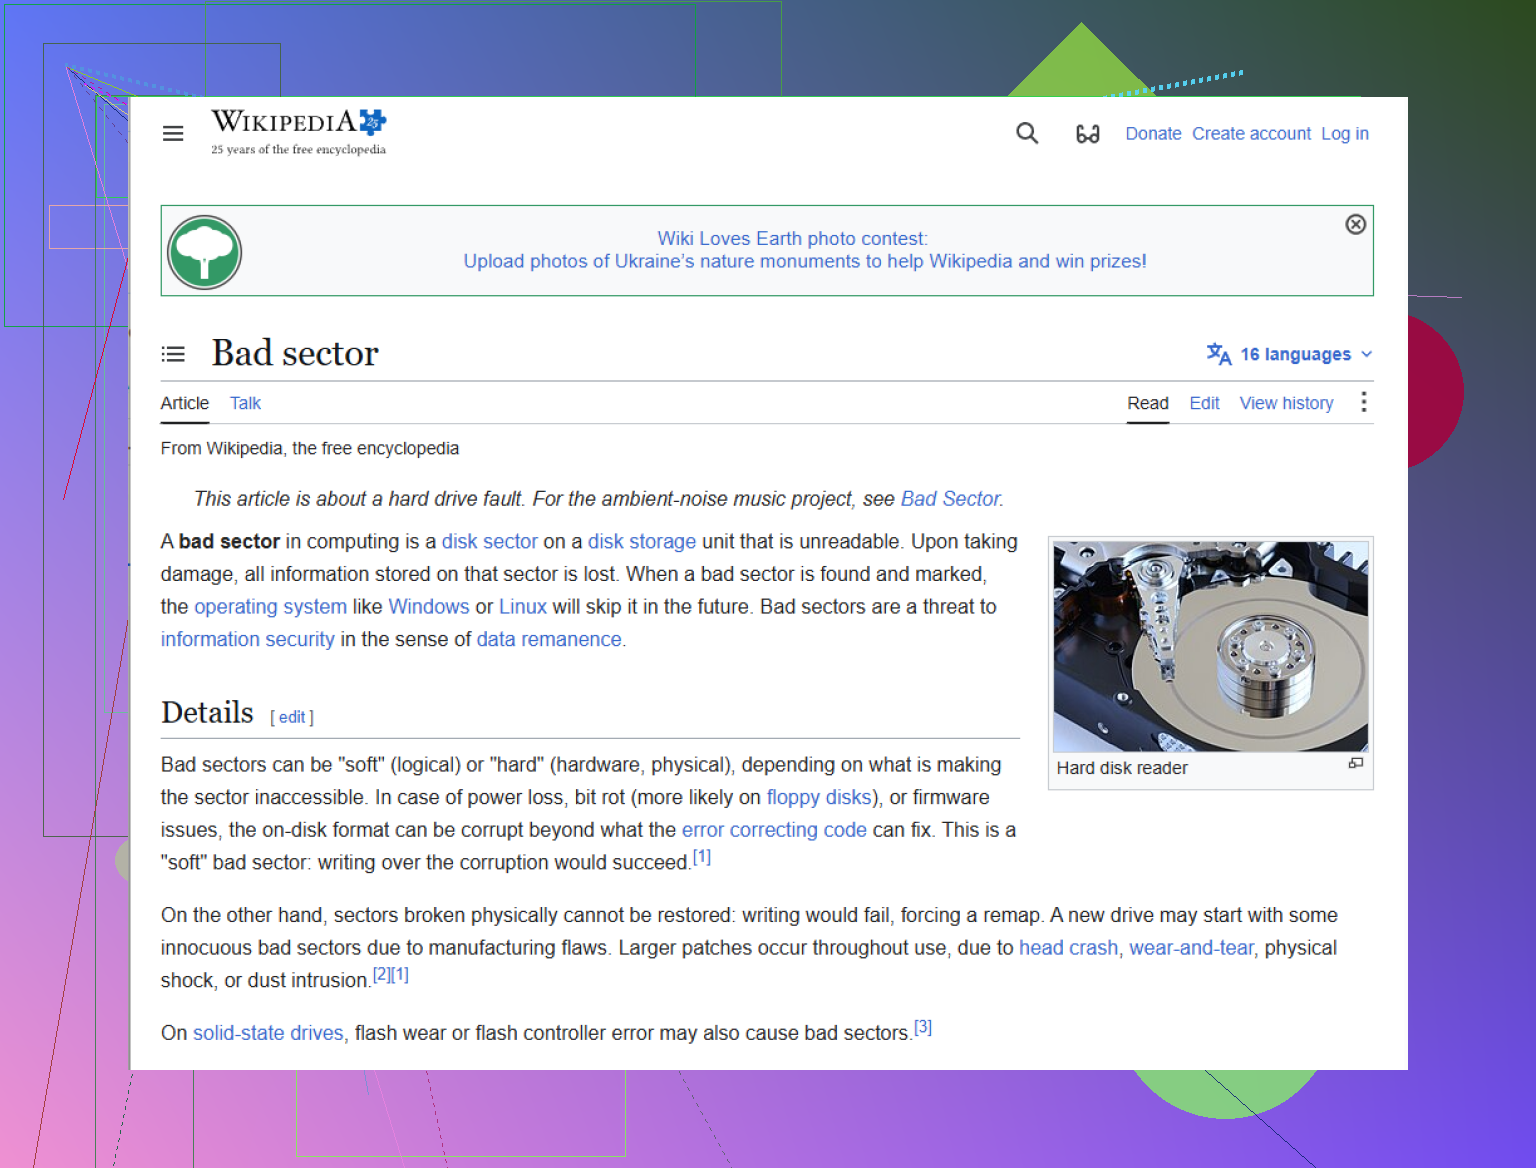
Soft bad sectors are the less ugly version. The data in a spot no longer matches the drive’s error-check info. I’ve seen it after power cuts, hard resets, and one old desktop where someone kept yanking the cord from the wall. The surface itself might still be fine.
Hard bad sectors are different. That points to physical damage. Worn platter area, weak head, some internal failure. No app fixes hardware. Best case, software helps you work around the damaged area and pull out what still reads.
One thing I would not do first is run CHKDSK if the files matter. People do it reflexively. I did too, once. Bad move. CHKDSK is built to make the file system usable again. It is not built around preserving every broken file record for recovery work. Sometimes it cleans things up in a way that leaves less to recover.
Safer path, clone or image the drive first. Byte for byte, if you can manage it. The goal is simple. Make one careful pass onto a healthy disk, then do your recovery work from the copy. Leave the original alone after that.
For a do-it-yourself try, recovery software makes more sense than repair tools. Disk Drill is one of the few tools people keep bringing up for unstable drives, and I get why. Its backup side is built around drives that choke on bad areas. It skips ugly blocks, grabs easy data first, then circles back with smaller reads. That matters. A basic copier tends to hang forever on one bad section and waste your shot.
What I’d do, step by step:
Connect a healthy drive with enough free space.
Make a full image or clone of the failing drive.
Scan the image, not the original disk.
Save recovered files to another separate drive.
That last part trips people up. Don’t write recovered files back to the bad drive. Don’t dump them onto the same destination used for the image if you can avoid it. Keep things separate. Less mess, fewer mistakes.
There’s a line where DIY stops making sense.
If the drive clicks, grinds, beeps, won’t spin up, or vanishes from the system entirely, I’d stop there. Same if BIOS stops seeing it. Those signs usually mean mechanical trouble, and software won’t talk a broken head into behaving. I’ve watched people keep retrying in this stage and turn a rough recovery into a dead one.
If the files are important enough that losing them would hurt for real, send it to a lab. Gillware and Techchef are examples people mention for this kind of work. They have cleanroom setups and hardware normal users don’t. Price is the bad part. It often lands anywhere from a few hundred bucks to a few thousand. Still, for family photos, business records, or research data, I’ve seen people pay it and not regret it.
Only after your files are recovered and checked should you even think about fixing or reusing the old drive. At that stage, a full format or chkdsk /r can mark bad sectors so the OS avoids them. Even then, I wouldn’t trust a drive like this for anything important. Once it starts throwing signs like CRC errors and freezing on reads, I treat it like a spare at best. Maybe for throwaway testing. Not for stuff you care about.
The part people skip until it bites them is backups. The 3 2 1 rule is still the one I stick with. Keep three copies of your data. Use two different storage types. Keep one copy off-site or in cloud storage. It sounds annoying when everything works. It feels cheap when a drive starts dying at 11:40 p.m. and you’re staring at years of files.
13 Likes
Stop using the drive. Do not keep retrying file copies. Every failed read adds time, heat, and stress.
I agree with @mikeappsreviewer on skipping CHKDSK at this stage. I differ a bit on one point though. If the data is irreplaceable, I would not spend too long testing DIY tools on the original disk. I’d give myself one careful shot, then move to a lab if results look bad.
What I’d do:
-
Check SMART first with CrystalDiskInfo or smartctl.
If you see rising Reallocated Sectors, Pending Sectors, or Uncorrectable Errors, treat the drive as failing now, not later. -
Use a direct SATA connection if possible.
USB bridge boards on externals often choke on read errors. SATA tends to be more stable. This matters on 4TB drives. -
Clone with a tool made for bad sectors.
My first pick is ddrescue on Linux. It keeps a mapfile, skips trouble spots, and returns later. Better control than normal copy tools. One pass with no retries first, then a second pass on the weak areas. -
Recover from the clone, not the source.
If you want a gui app after cloning, Disk Drill is a solid option for sorting photos, docs, and deleted file traces from the image. It’s easier to work through than raw forensic tools for most people. -
Prioritize high-value folders.
Photos, work docs, databases, mail archives. Large video files and backup containers often fail harder if a small part is unreadable. -
Watch for warning signs.
Clicking, spin-down loops, BIOS not seeing the drive, transfer rate dropping to near 0 MB/s for long stretches. At that point, stop. Lab time.
For paid recovery software research, this page is useful for user feedback on Disk Drill, read Disk Drill user reviews and recovery experiences.
One more thing people miss. If this 4TB drive is SMR, rebuilds and rewrites get ugly fast on weak media. Read first, recover first, fix nothing yet. Don’t try to “heal” bad sectors before your files are safe. That part gets ppl in trouble.
I’d add one thing to what @mikeappsreviewer and @cacadordeestrelas said: don’t judge the drive only by whether it still mounts. I’ve had drives stay visible in Windows while silently returning garbage data on some files. That’s worse than a total fail sometimes, because ppl assume “if I can browse it, it’s fine.”
Before doing a full clone, try to identify your most irreplaceable data and copy that first in small batches if the drive is still semi-readable. Not giant folder drags. Small folders, one type at a time. Photos, documents, project files. Verify a few of them actually open on the destination. A lot of users miss that step and end up with copied-but-corrupt junk.
Also, CRC errors are not always “surface damage only.” Sometimes it’s the SATA cable, USB cable, enclosure, or power issue. So if this is an external 4TB drive, I’d test a different cable, different port, and if possible remove it from the enclosure and connect by SATA. Not to “fix” it, just to rule out the dumb stuff first. Seen that more than once.
For the failing area itself, a clearer term than “bad block” is what bad sectors on a hard drive actually mean. That’s usually the real problem behind slow reads and copy failures.
If the drive stays online long enough, make an image, then use Disk Drill on the image instead of poking the original disk over and over. I slightly disagree with going straight to a full-disk attempt no matter what. If the drive is super unstable, grabbing the most important stuff first can be the smarter play. After that, retire the drive. No “maybe I’ll keep it for backups.” Nope. Done.
I’d split this into two decisions, and this is where I slightly part ways with @sterrenkijker.
If the drive is still readable enough to stay connected without dropping every few minutes, I’d grab the most irreplaceable files first instead of insisting on a perfect full-disk image before anything else. Not giant copy jobs. Just your top-value folders, checked after copy so you know the files actually open. A partial win beats a failed all-or-nothing clone.
After that, image the drive and do the heavier recovery work from the copy.
A couple things not mentioned enough:
- Keep the drive cool. A fan pointed at it can help during reads.
- Disable sleep/USB power saving so the disk does not keep resetting mid-job.
- Check the event log for disk timeouts and controller errors. Sometimes the problem is worsened by the enclosure or cable path, not only the platters.
- If this is an SMR model, patience matters. They can look dead slow even before total failure.
On software, Disk Drill is fine after you have an image.
Pros:
- Easy to sort photos, docs, and previews
- Good for scanning an image file instead of stressing the original
- Friendlier than many forensic tools
Cons:
- Not my first choice for the actual rescue read from a physically unstable disk
- Deep scans on 4TB can take ages
- License cost may sting if recovery fails because hardware is too far gone
So: @mikeappsreviewer is right about avoiding CHKDSK early, @cacadordeestrelas is right about watching SMART and warning signs, and @sterrenkijker is right about checking cables and enclosure issues. My addition is to think triage first, perfection second. On a dying 4TB drive, that order can save the stuff that matters.